 HID light increases vivibility.
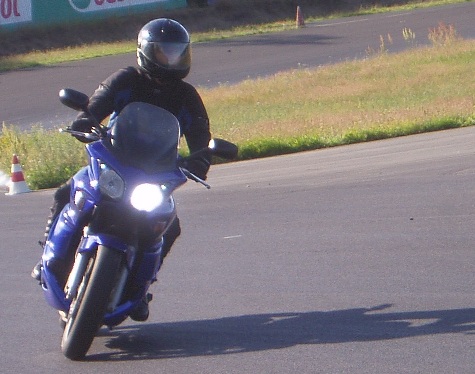
The standard headlights on CBF 1000A Honda motorcycle use H7 55W halogen bulbs which are not very bright and have a rather short lifespan. The bike is not very visible in the traffic and the low light intensity is not sufficient for high speed night driving.
HID light increases vivibility.
As HID light systems offer 3 times higher light intensity and 10 times longer lifespan, I decided to install such a system on my bike. The result lives up to all my expectations so I can only recommend other CBF 1000A owners to do the same. Regulations in different contries may put different requirements on HID systems, but considering saftety to be the most important factor, there is not much to think about. While you´re at it, this is also the right time to replace the standard position lights with LED lamps which have brigther light and much longer lifespan.
Each HID Xenon bulb requires a 12 Volt to 23.000 Volt converter, usually called a "ballast". On the CBF 1000A the two ballast units can fortunately be mounted right next to their respective headlights, so electrical installation is a straight fit into the original harness. You do'nt need to cut or solder any wires.
Bulb Replacement (update 20110725): 3 years and more than 30.000 km after I made the installation of the xenon system and wrote the first version of this article, the low beam failed and I had to replace the bulb: Removed windscreen, mirrors, upper left and right cowls and the two small black inner panels, meter panel. Pulled front center cowl including the headlight unit 20 cm forward and hung it in that position with a string from the ceiling. Replaced the low beam bulb and tested that the low beam workes ok with this new bulb. Then assembled everything again.
Reinstalled normal H7 in low beam (update 20200807): Somewhere around 2012-2014 I decided to reinstall H7 in low beam, as the very strong HID light was simply too strong at night time, and resulted in too many oncoming drivers flashing their high beam lights at me. But I still enjoy the excellent high beam HID light.
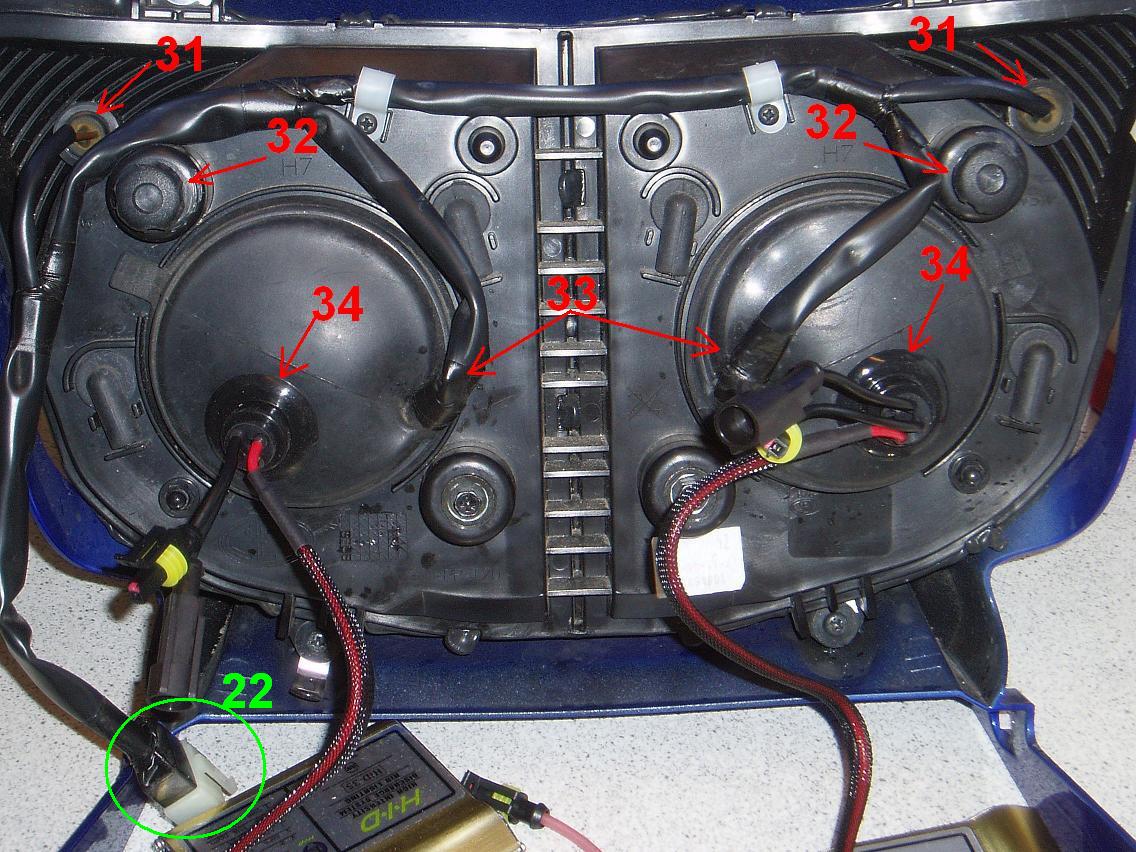
Remove the windshield as described here and remove the mirrors and cowlings as described here Following these descriptions you will end up with the front center cowl including the headlights unit on your workbench. By the way - It has been reported from many that adjustment of the headlights is quite difficult uless you remove the cowlings, especially the first time because the adjustment knobs (32) are initially quite difficult to turn. Hence this may be a good time to make sure that the knobs can in fact be turned.
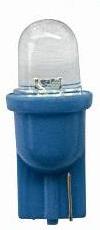
And now to the actual installation work: Start with simplest task - replacing the standard T10 position light bulbs with T10 wedge LED lamps as shown below right. Simply pull out/wriggle out the two rubber sockets (31) and replace the glass bulb with the LEDs. Notice that LEDs must be given the correct voltage polarity: the ground wire - that is the green one - must be connected to the broadest part inside the LED, that is to the wire on the right side of the LED shown below.
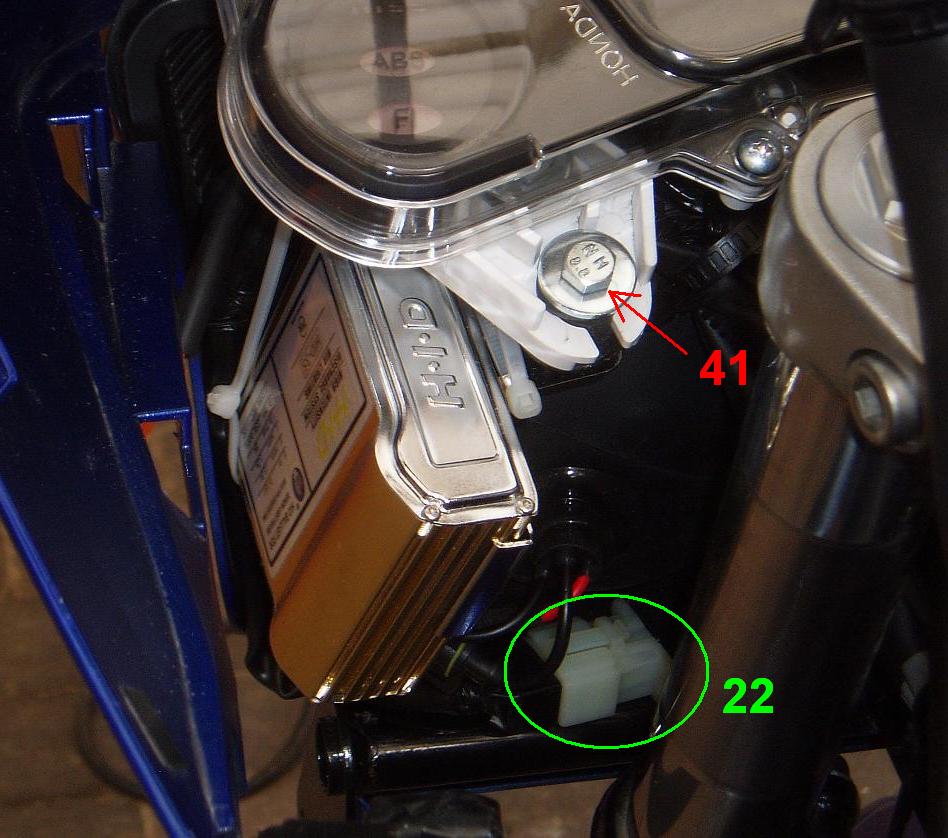
Before you reinsert the sockets into the panel, you should test that the LEDs work correctly. Connect the headlight connector (22) to the mating connector on the bike and turn on the ignition. The LEDs should now turn on. Disconnect the connector again and take the front center cowl bak to the working bench.
The NSS HID kit and T10 LEDs used here were procured from R-Techs and fits into the front cowling and straight into the existing harness.
The back side of each headlight is covered with a large round rubber dust cover. Remove the cover by simply pulling the little rubber flap on the side of the cover. On the above image you can see that the electrical cable (33) to the headlight bulb is routed through a hole in the dust cover. Disconnect the headlight bulb connector. Unhook the bulb retainer spring and remove the headlight bulb and put it away as spare for your car or whatever other use you can make of it. Do not to touch the glass of the bulb as this will impair its lifespan. My guess is that you will never ever put the H7 bulb back in the mc, once you have tried using your new Xenon lights!
Now open one of the xenon bulb containers an take the bulb out, taking care not to tuch the glass. In case you accidentially touch it, you mus clean it with alcohol to prevent fingerprints from damageing the glass. Remove the small plastic ring from the xenon bulb. Place the bulb in the headlamp and hook the bulb retainer properly.
Cut a hole (34) in the dust cover to give access for the wires connecting the xenon bulb to the ballast unit. The hole shall be 25 mm in diameter. The small plastic ring from the xenon bulb container can be used for marking up this hole, as the diameter of the hole in the ring is perfect for this. You can use a pair of scissors for cutting the hole.
Route the wires from the xenon bulb throug the hole in the dust cover and place the sealing (34) correctly in the hole (see above image). Two of the new wires in the HID harness have connectors which fit straight into the H7 connector of the mc harness. Be sure to connect the polarity correctly. The red (positive) wire should be connected to the pin in the connector which connects to the blue/black or blue/white (positive) wire in the H7 connector. The green wire in the H7 connector is ground (negative). Wrap some insulation tape arround the H7 connector after assembling the wires so you do'nt get any short circuit later.

The above image shows the front center cowl and headlights unit with the HID bulbs installed and the ballasts (31) ready for being connected. Connect each ballast to its respective HID bulb. The connectors are coded so there is only one way to do it. No risk of any mistakes here. If you temporarily tie up the ballasts with piece of wire or string or get an asistant to help you carry all the loose hanging stuff, you can bring the front center cowl to the bike and connect connector (22) and test that the light works correctly before you do the final part of the installation.
Assuming you have tested the lights successfully, disconnect the ballast units again and then reinstall the front center cowl on the bike by simply reversing the removal procedure.
Now it is time to install the ballast units, and it is time to use some capital letters before we procede:
The ballasts are mounted all the way up front inside the front center cowl right next to the steering forks and could - if not mounted properly - get entangled with the steering causing complete loss of control during driving. We will hence take sertain safety precautions in the way we mount the ballasts, so do pay attention to the details marked with red in the following description.
On the picture below, you can see the 6mm bolt (41) holding the combination meter in position. Notice that the combination meter is mounted with a rubber bushing in order to dampen vibrations. Remove the bolt which is arround 35 mm long and replace it with a bolt which is 10 mm longer and use an appropriate washer. Make sure the size of the washer is correct and does not prevent the vibration damping. The must be possible for the combination meter to move a little in all directions when you apply pressure.
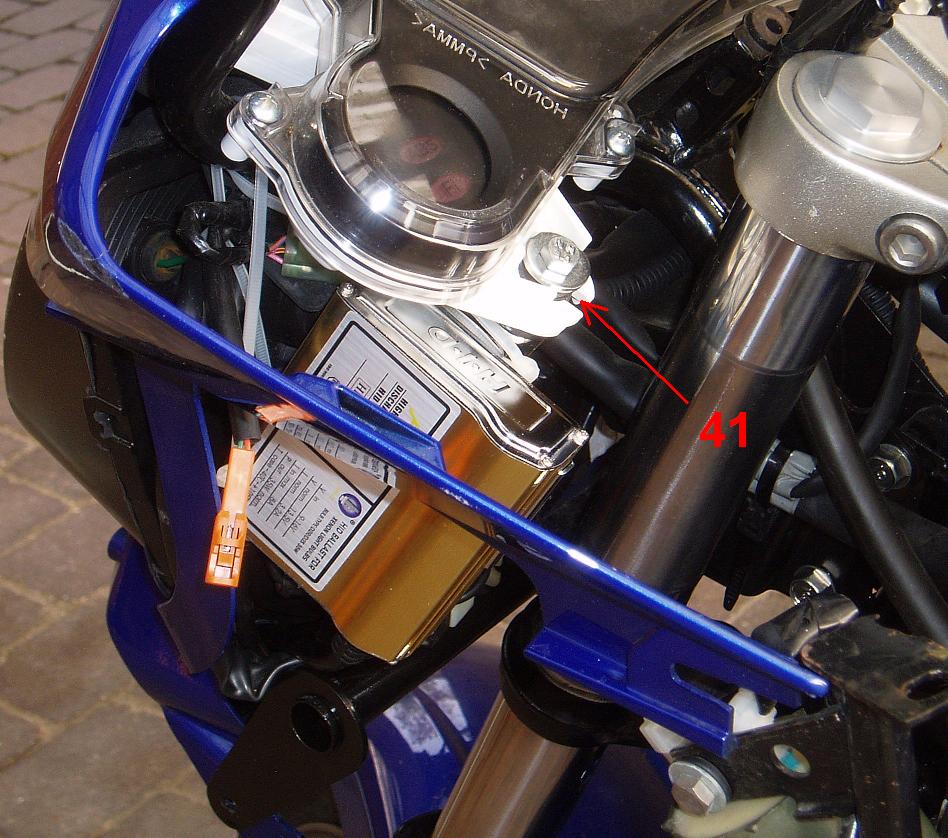
You now have 10 mm of the bolt on the underside available as a perfect fixation point for a ballast unit.
Using a pair of pliers bend the mounting flange on the ballast approximately 90 degrees. Ease the ballast unit up from below and mount flange to the newly installed bolt using a self-locking nut. ===> Be sure to use a self-locking nut for safety reasons <===.
Connect the ballast wires to the newly installed HID bulb and test if it is working properly. Now is also the time to adjust the angle of the light beam, while you have easy access.
Arrange the wires to be packed neatly up in the corner of the front center cowling. Now we come the third safety step: ===> using a number of strips, the ballast and the wires must be properly fixed in position and so vibrations are damped <===. The strips shall be placed so that the ballast unit will still be held in position in the corner even if the self-locking nut should fail and go loose.
Following the same principles install the right ballast unit.
===> Make a final inspection that everything is mounted correctly and in safe distance from the steering <===. Remount the meter panel and the side cowlings. Then enjoy your first night ride with your new Xenon lights. It will be quite a change from what you had before.
Finished.
© Copyright 2009 FireBladerDk - last update 2020-08-07