This DIY describes how to remove and reinstall the seats on a 2007 CBF1000A Honda motorcycle and is applicable for 2006 to 2009 models.
You may e.g. need to take out the front seat if you want to lift up or remove the tank.
This DIY task is as easy as they get. A first timer may spend 10 minutes doing it, an experienced might do it in 3 minutes (not including reading this DIY though).
Tools, spareparts and consumables needed:
1) Unlock the rear seat and lift up at the rear end to remove it (sorry - had to include this step, just for completeness ;-)
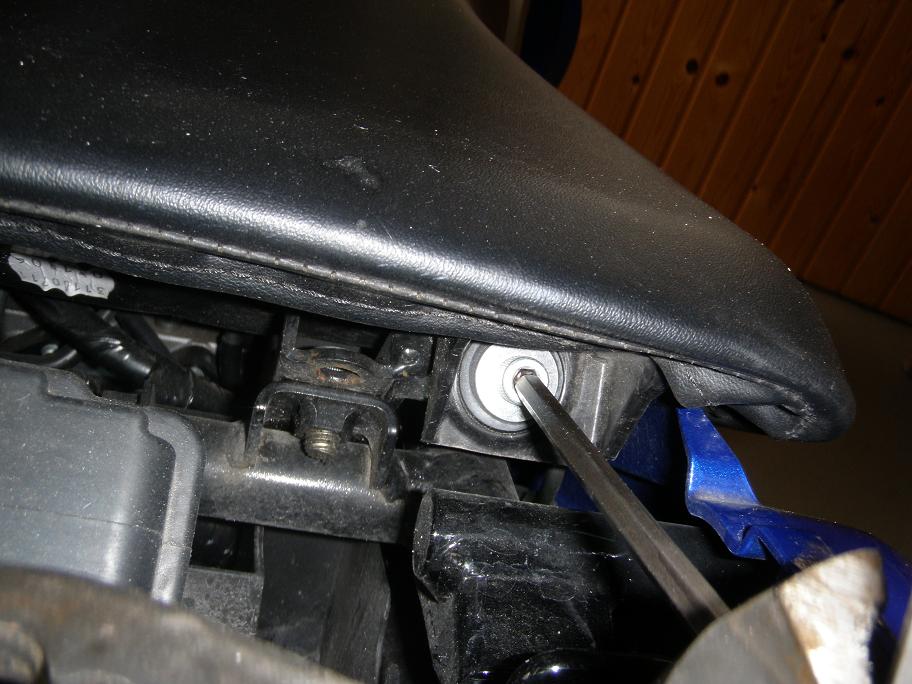
2) Unscrew the two 25 mm long 6 mm bolts below the rear corners of the front seat (umbraco
5 mm). Be sure not to lose the metal collar on each bolt. It will probably remain sitting
in the rubber bushing.
Tip: Whenever possible, leave bolts, nuts and screws in their original positions while you continue work. Then you have them in the right place for reassembly.
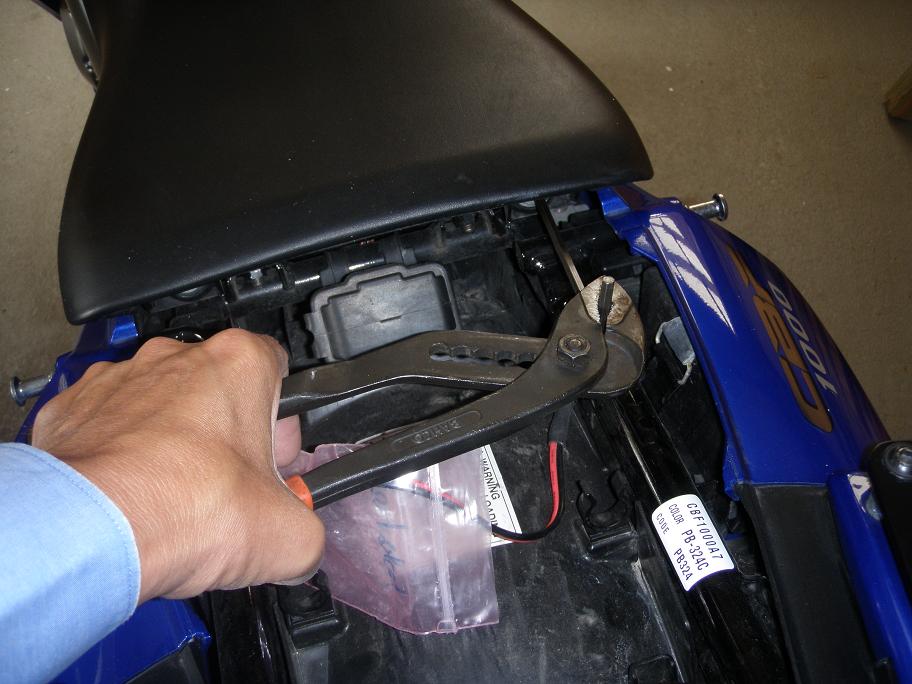
3) Pull the seat backwards to release the seat prong from the seat bracket, and then lift the seat away.
Installing the seats again is simply to reverse the removal procedure.
Tip: Remember to smear the threads on bolts and screws with copper grease before you remount them. Then you will have an easy task, next time you have to disassemble.
Safety Tip (from 'Biffermann' at www.cbf1000.com): "check that the 4 bolts holding the seat height mechanism are good and tight. When I had my seat off for the first time, I noticed that all four of my bolts were loose!"
Finished.
© Copyright 2009 FireBladerDk - Last updated 2009-08-23