Air Intake Cover, Removal/Installation - CBR 1000RR8 DIY
This Do It Yourself (DIY) article describes how to remove/install the air intake
cover on a 2008 CBR1000RR Honda Fireblade motorcycle. This cover must typically be
removed before the middle cowls can be removed.
Important: All actions require very little force if you do it right.
Hence if things don't come apart when you apply gentle force, then stop and check
the text and pictures again.
Time and Tools
This is an easy DIY task. A first timer may spend 15 to 20 minutes doing it, an
experienced less than two minutes.
Tools needed:
- screw driver pz 1x75
- a tweezer
- pointy tool (e.g. a tweezer)
Removing Air Intake Cover
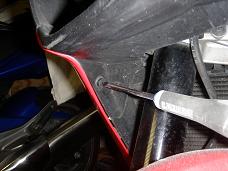
Remove the two
type 3 trim clips on the left and right side of the air intake cover: Unscrew the
locking screw to release it, as shown on the below left image. Then pull/wriggle the clip out
with a tweezer.
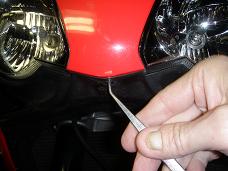
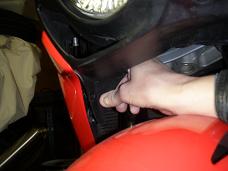
Remove the
type 1 trim clip at the top center of the air intake cover: press the center pin in
with a pointy tool e.g. a tweezer to release it, as shown on the below right image. Then
pull/wriggle the clip out with a tweezer.
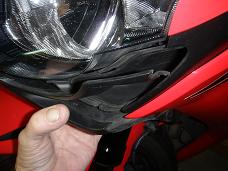
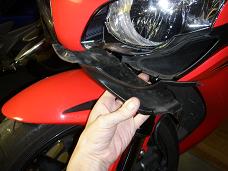
Release the right side plastic tabs (image below right) by gently bending the
upper and lower 'wings'. Be carefull not to brake the tabs. Do the same on the left
side (images further below left and middle).
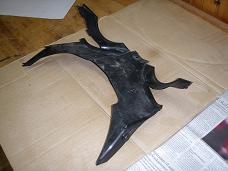
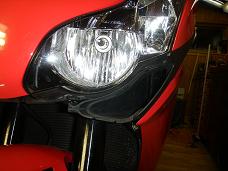
The image below shows the left air duct after the air intake cover has been
removed.
Installation
Installation procedure is same as removal procedure in reversed order.
See about
trim clips handling.
You are invited to participate with review, questions and discussion via this
- link to come - thread on
www.fireblades.org or this
- link to come - thread on
www.1000rr.net.
See also:
How to DIY (warnings, tips, tools,
methods, ... etc.)
First Year
with my Fireblade
Superbikes on the Road: BMW S1000RR versus
Honda CBR1000RR Fireblade
Front Page
© Copyright 2012 FireBladerDk - 2012-02-19


