Tank Lifting - CBR 1000RR8 DIY
This Do It Yourself (DIY) article describes how to lift the tank on a 2008
CBR1000RR Honda Fireblade motorcycle.
This job is normally done for fuel system inspection or as part of
valve clearance inspection.
Most of the pictures in this article were taken while I was doing valve
clearance inspection, so cowls and radiator have also been stripped off the
bike. If you are only going to work on the top of the engine, you do not
need to strip theese parts off. If you intend to remove the valve cover,
you will have to remove them, as you will need sufficient space to get the
valve cover out.
Time, Tools and Parts
This is an easy DIY task which. A first timer may spend 1 hour on it, an
experienced may do it in 15 minutes.
Tools and Parts needed: qwe
- Allen key (5 mm)
- screw drivers, flat and pz 1x75
- mirror
- lamp
- wodden rod
Front Page - Other DIY Articles
Tank Lifting
1 Place the bike in upright position so you have easy access to both
sides. You may do the job using the side stand only, but upright is easier.
2 Remove Seat and Side covers.
3 Remove the Top Shelter.
4 Lift the Tank as described in the following:
4.1 Disconnect the battery.
4.2 Mounting Bolts and Drain Hose:
Remove the fuel tank mounting bolt and collar on both sides of the tank (right
side bolt is shown below left).
Release the fuel tank draining hose by pulling it upwards (as shown below middle
and right) to ensure it can move freely when the tank is lifted.
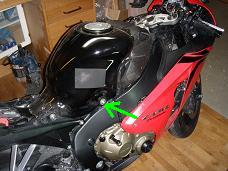
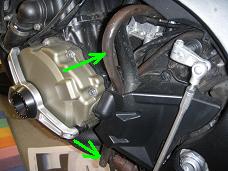
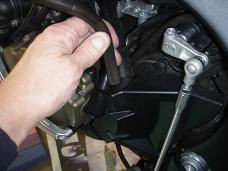
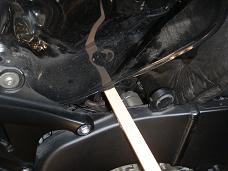
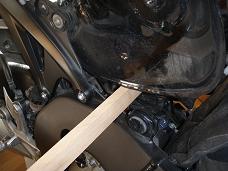
4.3 Lift and Support Fuel Tank:
Slowly lift the front of the fuel tank upwards while making sure no hoses nor
wires are streatched in any way. When the tank is lifted high enough, insert a
support, e.g. a wood stick measuring aproximately 40 x 2 x 2 cm, as shown below
middle.
The Honda Shop Manual suggest to support the tank by first disconnecting
the breather hose (marked with a green arrow on the large image below middle)
and then insert a long thin steel rod through the breather hose hole on the
right side, to the similar hole in the left side. Unfortunately I forgot to take
a close up picture of how this, but it will be obvious when you get to it.
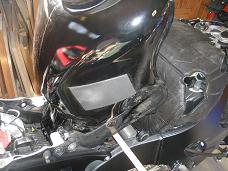
Installation procedure is same as removal procedure in reversed order with
exceptions as described in the referenced DIY articles and here below.
5.1 Lowering the fuel tank slowly while making sure no hoses or harness parts
are stressed, kinked or bent. Also guide the drain hose properly into it's correct
position.
5.2 Install the collars and fuel tank mounting bolts. Torque: 10 Nm (1.0 kgfm,
7 lbfft).
6 Remount the Top Shelter.
7 Reconnect the Battery
8 Remount Seat and Side Covers.
Finished.
Front Page - Other DIY Articles
You are invited to participate with review, questions and discussion via this
- link to come - thread on www.fireblades.org
or this - link to come - thread on
www.1000rr.net.
See also:
How to DIY (warnings, tips, tools,
methods, ... etc.)
First Year
with my Fireblade
Superbikes on the Road: BMW S1000RR versus
Honda CBR1000RR Fireblade
Front Page - Other DIY Articles
© Copyright 2012 FireBladerDk 2012-04-08. Last update 2013-02-24


